In part 1 of this tutorial we learned how to create and run a new App with DroidScript and the WiFi IDE. In this second part, we will learn how to use images and buttons.
Adding an Image
To display an image, we first need to add an Image Asset. We can add images from the Assets view in the WiFi IDE.
Make sure the Assets view is showing by clicking on the Assets  button.
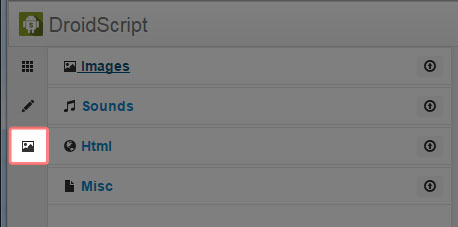
There are four sections in the Assets view: Images, Sounds, HTML and Misc. You can expand the sections by clicking on their titles. You will notice that each section is empty at the moment, so let's add an image.
Make sure the Image section is expanded and click on the Upload  button.
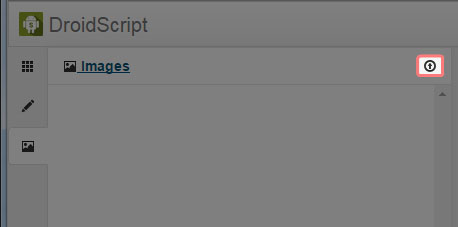
You will now see a file browser window. Find an image on your computer you'd like to use and open it.
You should now see your image in the Image asset section.
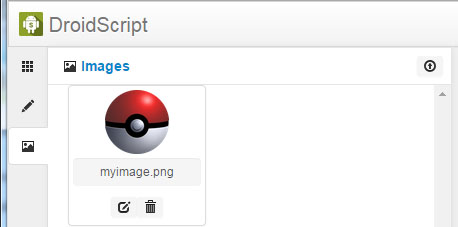
Now we have an image we can use in the App, so let's modify the code to display it. The App you created in part 1 of this tutorial shows a text control in the center of the screen, so let's add the image above the text.
Create a new image control using the CreateImage method:
The first parameter passed into the CreateImage method is the location of the image asset we uploaded. The location of an image asset should always start with "Img/" followed by the filename of the image.
As we learned in part 1 of this tutorial, controls must be added to a layout:
Let's add these two new lines of code above the text control. The complete code should now look like this:
Complete code with image
function OnStart()
{
//Create a layout with objects vertically centered.
lay = app.CreateLayout( "linear", "VCenter,FillXY" );
//Create an image and add it to the layout.
img = app.CreateImage( "Img/myimage.png" );
lay.AddChild( img );
//Create a text label and add it to layout.
txt = app.CreateText( "Hello" );
txt.SetTextSize( 32 );
lay.AddChild( txt );
//Add layout to app.
app.AddLayout( lay );
}
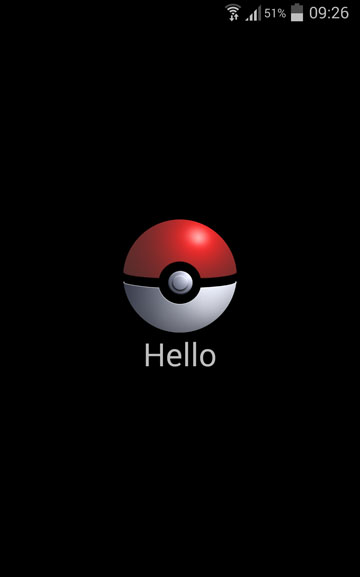
Now run the App and you should see the image positioned above the text.
If your image looks too big or too small, the width and height can be set when you create the image control. Width and height values are fractions of the screen width and height.
For example, a width of 0.25 means the image will take up one quarter of the screen width:
Adding an Button
Now let's add a button that will show a popup message when pressed.
Create a new button control using the CreateButton method and add it to the layout:
lay.AddChild( btn );
The complete code should now look like this:
Complete code with button
function OnStart()
{
//Create a layout with objects vertically centered.
lay = app.CreateLayout( "linear", "VCenter,FillXY" );
//Create an image and add it to the layout.
img = app.CreateImage( "Img/myimage.png" );
lay.AddChild( img );
//Create a text label and add it to layout.
txt = app.CreateText( "Hello" );
txt.SetTextSize( 32 );
lay.AddChild( txt );
//Create a button and add it to the layout.
btn = app.CreateButton( "Press Me!" );
lay.AddChild( btn );
//Add layout to app.
app.AddLayout( lay );
}
Now when you run the App you should see a button with the caption "Press Me!" below the text.
You will notice that pressing the button doesn't do anything, so let's now add an OnTouch callback. An OnTouch callback is a function that will be called when the button is pressed.
Let's create a new function called btn_OnTouch below the OnStart function:
{
}
When the btn_OnTouch function called, let's show a popup message using the ShowPopup method:
Now for the last step, we need to set btn_OnTouch as the OnTouch callback for our button. We can do this using the SetOnTouch method:
Putting all the code together, it should now look like this:
Complete code with button
function OnStart()
{
//Create a layout with objects vertically centered.
lay = app.CreateLayout( "linear", "VCenter,FillXY" );
//Create an image and add it to the layout.
img = app.CreateImage( "Img/myimage.png" );
lay.AddChild( img );
//Create a text label and add it to layout.
txt = app.CreateText( "Hello" );
txt.SetTextSize( 32 );
lay.AddChild( txt );
//Create a button and add it to the layout.
btn = app.CreateButton( "Press Me!" );
btn.SetOnTouch( btn_OnTouch );
lay.AddChild( btn );
//Add layout to app.
app.AddLayout( lay );
}
function btn_OnTouch()
{
app.ShowPopup( "Hello World!" );
}
That's it! Let's run our App and see it in action. Try pressing the button and you will now see the "Hello World!" popup message.